You are not required to use the Code::Blocks IDE in this class, but it is recommended. The instructions below demonstrate how to download and install the Microsoft Windows version, but there are also Linux versions available that also work on recent (2019+) Chromebooks. The instructions below install Code::Blocks version 16. You may wish to install whatever the latest version is. If you own a Chromebook or Linux distribution that has apt-get available for it, skip the next section to get to your installation instructions.
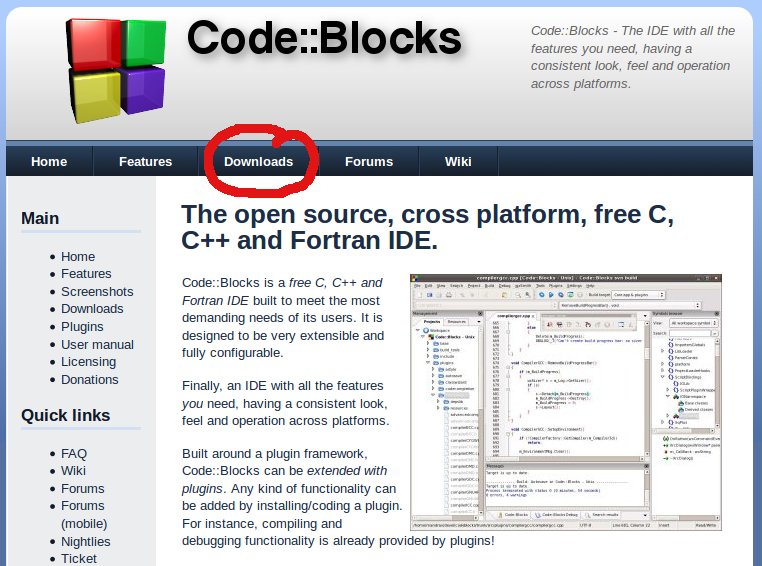
Go to www.codeblocks.org (new window). You will be installing the version of the Code::Blocks IDE that includes the 32-bit MinGW C++ compiler. I will be highlighting the MS Windows version. If you need to install the Linux version for which apt-get is not available, or you are running Mac OS X, you will need to download and install the appropriate Code::Blocks version.
At the top of the page, select the Downloads link.

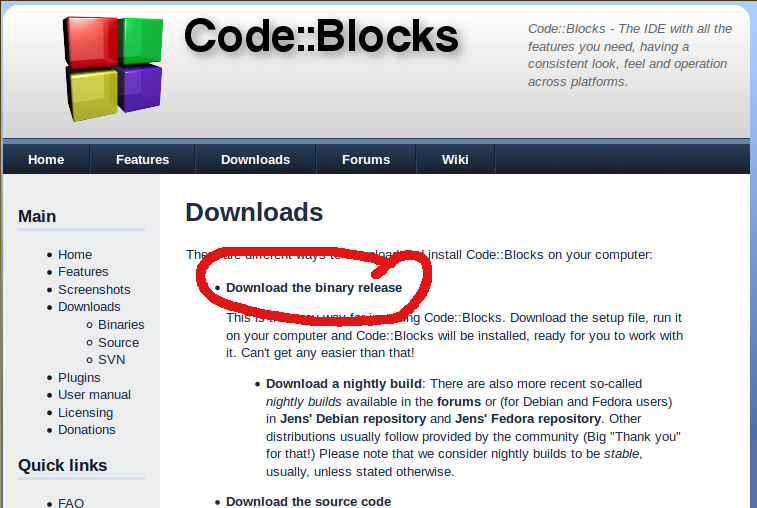
At the Downloads page, select Download the binary release
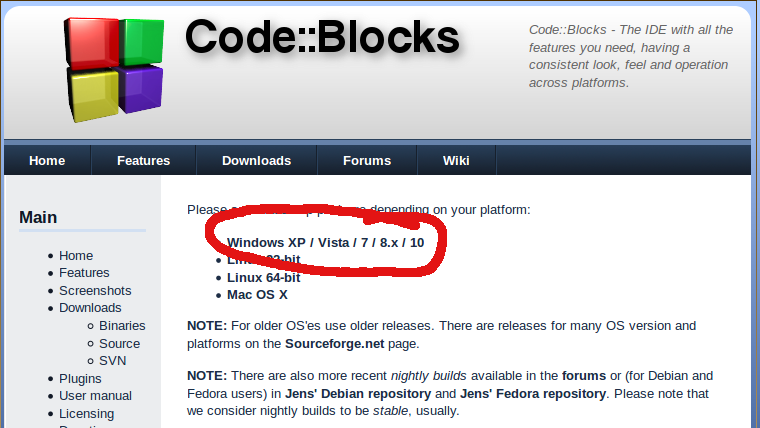
For some class exercises, you will be provided a test driver to
link with your program. This test driver will be interacting with your program
code to provide feedback on its correctness. Before submitting your exercise,
you will have a good idea of what score you will be receiving based on the
feedback given by the test driver. For this to work, you must be compiling
on a MS Windows platform using Code::Blocks and the 32-bit Ming GW compiler.
You may use a different platform at home, but ultimately your program needs
to work with the MS Windows test driver. To install this version on a
MS Windows computer, select Windows XP/Vista/7/8.x/10 (or scroll
down slightly).
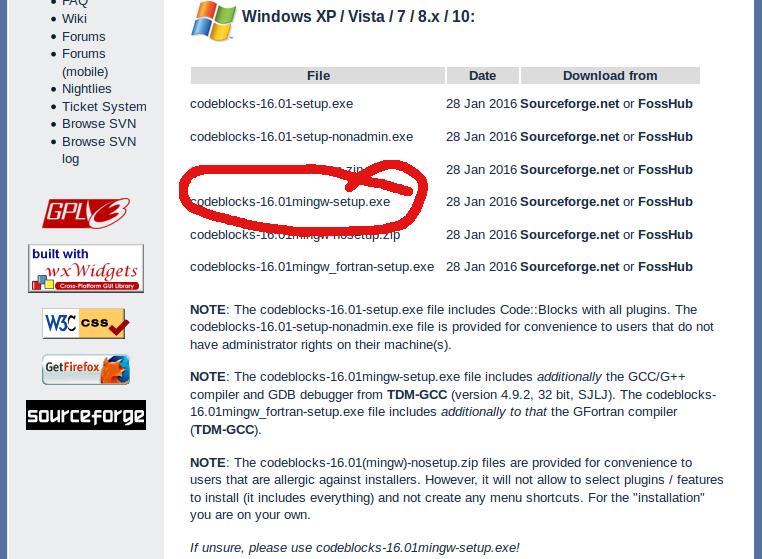
You will need to select one of the Mingw versions.
Install it in any folder where you have write
permissions (perhaps even a USB device). If you have administrator privileges,
you can choose codeblocks-16.01mingw-setup.exe and install it in the
same place your other standard software is installed.
After downloading the setup program, go ahead and run it. When asked, a Standard or even Minimal install should work just fine. When installing, you might get a Compilers auto-detection dialog box. You should verify that the GNU GCC compiler is selected as the default compiler, then click the OK button.
Most, if not all, Chromebooks manufactured since 2019 have Linux available to be automatically installed. This allows the Linux version of Code::Blocks to be installed.
Now that you have installed the Code::Blocks IDE, you can now test it out by writing and compiling Your First Code::Blocks Program. Note when starting Code::Blocks for the first time, you might get a Compilers auto-detection dialog box. You should verify that the GNU GCC compiler is selected (or whichever compiler you installed separately, particularly for Linux installations) as the default compiler, then click the OK button.
Follow these steps to write, save, compile, and run your first program using Code::Blocks, the IDE (Integrated Development Environment)
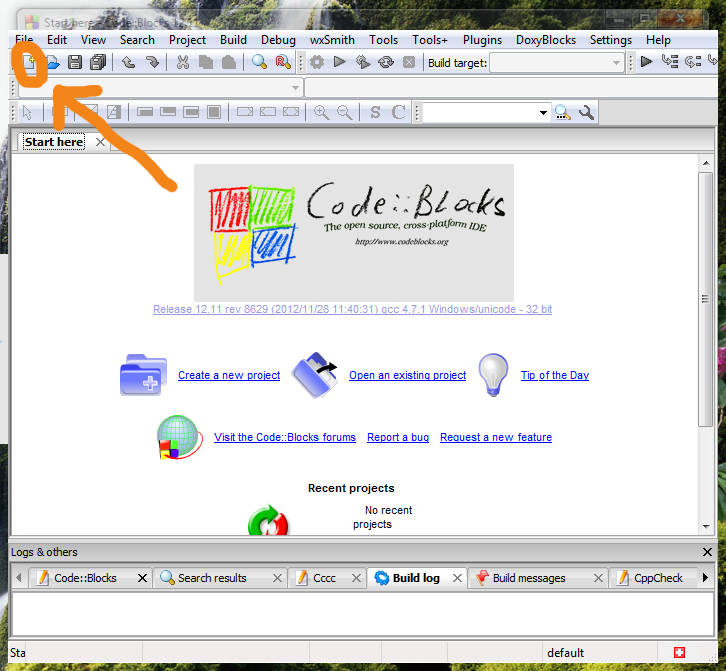
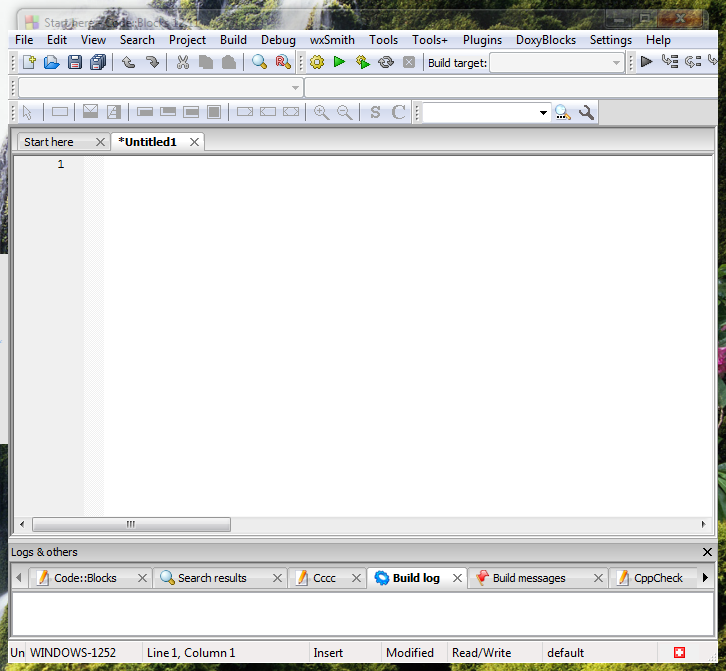
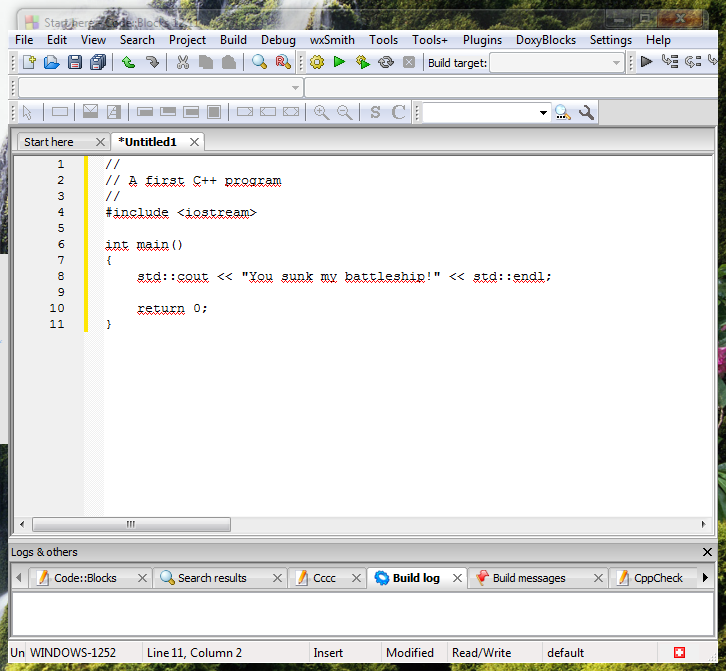
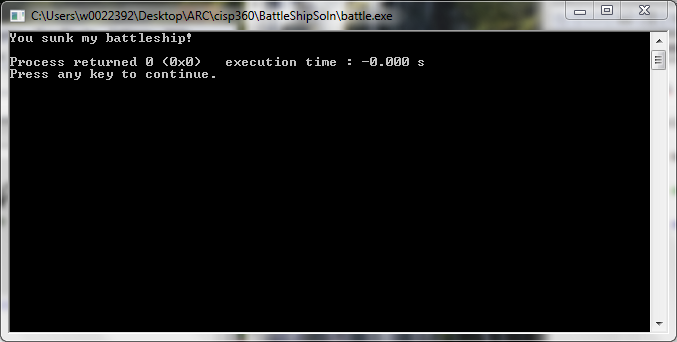
After installing the compiler you may wish to make changes to syntax highlighting if it is enabled for the Editor. You may wish to modify the colors definitions for the various syntax types to allow you to read the code more clearly. You can select from the Settings Menu, then the Editor... option.
Professor Antos's students may submit their program on the course website as part of Activity 2: