Walnut-Zipper Tutorial
In this tutorial you will practice simple blending skills that will be
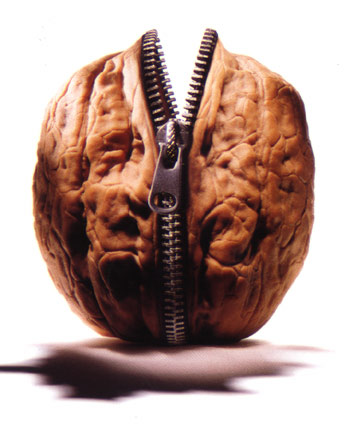
used to complete our second project. The assignment is to blend two photos
to come up with the composite picture below. Save as a jpeg file and send
to John by the end of the week.
|
|
| 1.Download the photos here: Walnut
Start ///Zipper
Start |
| 2. First clean-up each photo remove moire, any defects and make adjustments
to levels and contrast. When combining photos, they should have similar
contrast, tonal range and, idealy, have a similar light source or direction.
These characteristics will add to the realism of the composite image. |
| 3. Open both images on your desktop...the scale and resolution
of the images is the same. In your own project you may have to make adjustments
at this point. You should be aware that the image resolution is established
by the image that starts out as the background. Images that are copied and
pasted or added as layers will be "scaled" to "fit"
that resolution. In other words, a 4 x 4 inch, 72 ppi image will be half
as big in height and width when it's copied onto a 150 ppi backgrond image. |
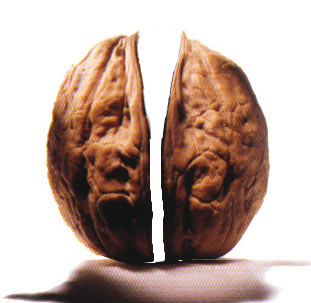
| 4. Notice that the walnut shell must be opened to accomodate
the zipper. The top is also spread a bit wider. With the walnut image open,
use the lasso tool to carefully select one half of the walnut. Now select
the selection arrow and move separate the two haves by about a quarter inch.
With one half still selected go to Filter>Liquify. This opens a window
in which you can freely warp and distort your image. Use a 100 pt brush
and gently push the top inside edge of the walnut out a bit. Now select
the oposit half and repeat the liquify process. It may take a couple trys
to get this right but it's really a fun tool to work with. It should look
something like this. |
|
| 5. Now place a layer contining the zipper over the walnut. You can drag
a layer from another file directly into your image..try it! As you build-up
layers be sure to keep track of the stacking order. The zippers should be
on top of the walnut...but you won't be able to see how it overlaps the
nut until you delete the white area around it. Use the magic wand to select
all the white then delete or cut to remove. Now go to Select>Inverse
to select the zipper itself. |
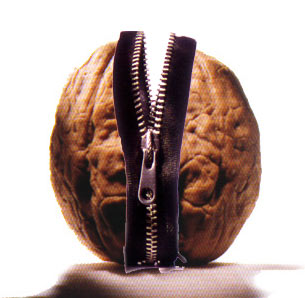
6. The zipper is too large for the walnut so you'll need to Edit>Transform>Scale.
Hold the shift key down to scale it proportionally. When scaled it should
look like this
|
|
|
| 6. Now the picky work begins...you have to remove part of the zipper to
make it look like it is really attached to the walnut like a real zipper.
Try using a hard edged eraser brush of 20-30 pixels in diameter. Just cut
the black binding away until it fits to the edge of the nut. Be careful
not to take too much away....you can always back-up using the undo, step
backward or history palette. Detailed retouching using the clone tool or
very small brushes might be usefull putting the final touches on the composite
image. |
| 7. How close did you come to making yours look like the origianl? |